Green Apple Candy Treats
Highlighted under: Sweet Baking Favorites
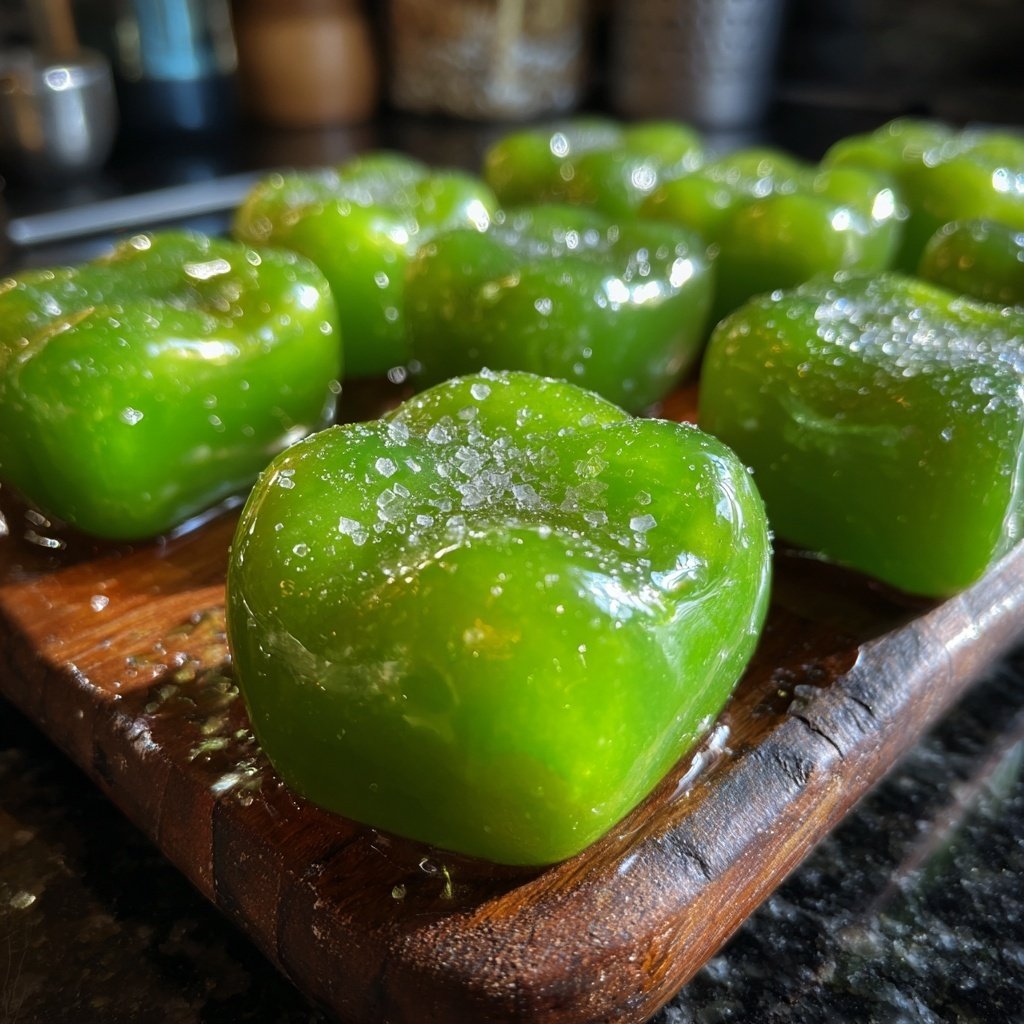
I love making Green Apple Candy Treats because they combine the tartness of fresh green apples with a rich, sweet coating that is simply irresistible. This recipe is not only fun to make but also a fantastic treat for kids and adults alike! The crunch of the apple paired with the chewy candy coating creates a delightful texture that keeps you coming back for more. I've found that using a mix of candy melts and a sprinkle of sea salt elevates the flavor even more, leaving everyone wanting the recipe.
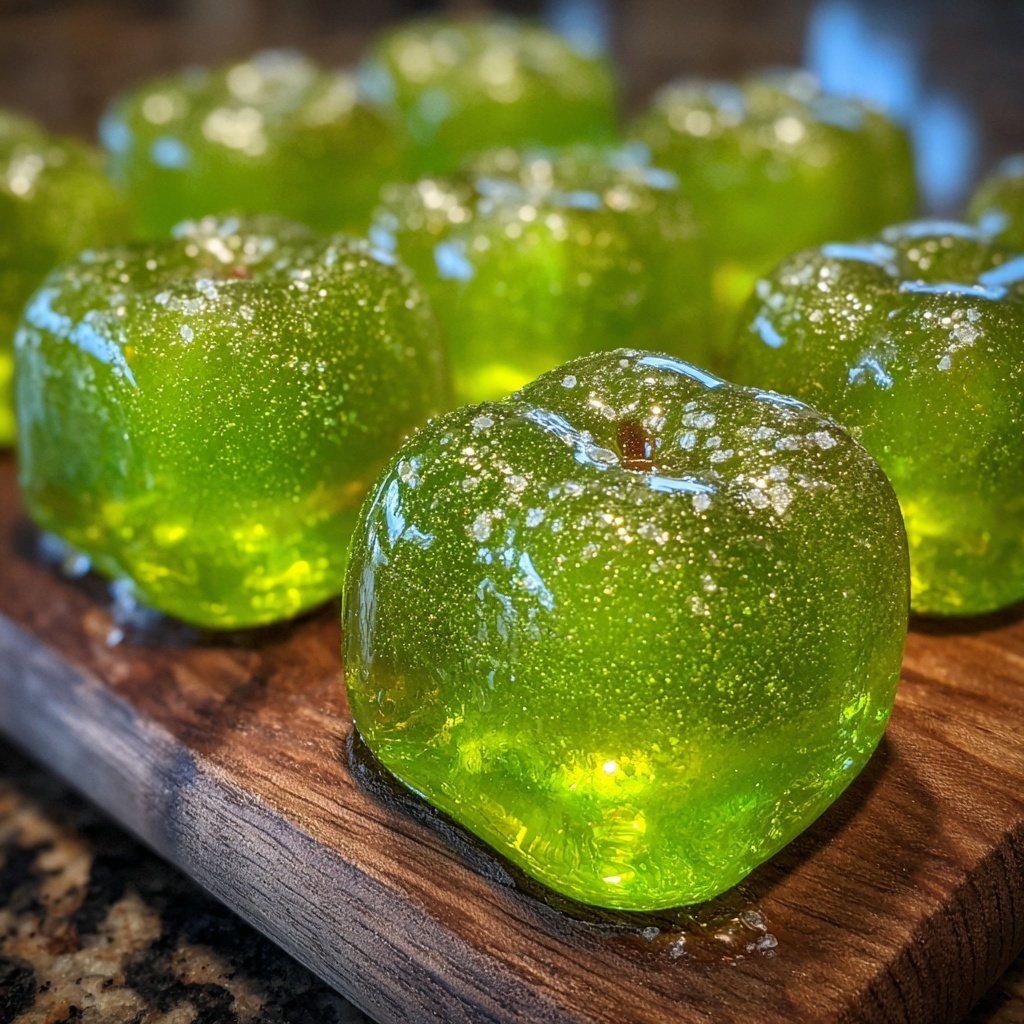
When I first made Green Apple Candy Treats for my family, the excitement was palpable! The combination of fresh, crisp apples coated in a sweet candy shell amazed everyone. I learned that tempering the candy melts properly makes a huge difference. It not only helps the coating stick better but also ensures a glossy finish that looks beautiful on a party platter.
One of my favorite tips is to sprinkle a tiny pinch of sea salt on the treats as soon as they’re coated. It enhances the sweet and tart flavors perfectly, making each bite even more delicious. These treats are perfect for gatherings or a sweet surprise gift!
Why You'll Love These Treats
- The tart crunch of fresh green apples balances perfectly with the sweet candy coating.
- Super easy to make, perfect for family baking sessions.
- Ideal for parties, they’re sure to impress friends of all ages!
Choosing the Right Apples
When making Green Apple Candy Treats, the choice of apple is critical to the balance of flavors. I recommend using Granny Smith apples due to their tartness, which contrasts beautifully with the sweetness of the candy coating. Look for firm apples with no blemishes. They should feel heavy for their size, indicating juiciness. If Granny Smith isn’t available, any crisp green apple variety can work, but they should ideally have a similar tart flavor profile to maintain the recipe's intended taste.
Before you start coating, ensure that the apples are completely dry after washing. Excess moisture can prevent the candy coating from adhering properly, leading to a messy finish. I like to dry them thoroughly with a paper towel, focusing especially around where the stick is inserted. A dry surface means that the candy melts will create a smooth, even layer that shines beautifully once set.
Perfecting the Candy Coating
Melting the candy melts requires careful attention to avoid overheating. Using a microwave, heat the mixture in 30-second intervals, stirring to help maintain an even temperature. The goal is to achieve a smooth and glossy consistency; if there are still lumps after stirring, microwave for an additional 15 seconds as needed. Be cautious not to exceed two minutes total to prevent burning or seizing, which can occur quickly at high temperatures, making the candy unusable.
For a bit of added flavor and smoothness in your coating, the coconut oil plays a key role. It thins the candy melts slightly, making them easier to dip the apples in without clumping. If you’re looking for a different flavor, consider substituting it with vegetable oil or shortening, although the coconut oil’s subtle flavor does complement the green apple nicely. Remember to mix well to ensure the oil is evenly distributed before dipping the apples.
Serving and Enjoying Your Treats
Once the candy-coated apples have cooled and hardened, you can get creative with your presentation. Consider placing them on a decorative platter, or for a fun twist, insert them into a block of Styrofoam, allowing each apple to stand upright for display. You can also wrap them individually in cellophane as delightful party favors or gifts. The visual appeal of the bright green apples makes them a striking centerpiece for any gathering.
If you have leftover treats or want to make them ahead of time, they can be stored in an airtight container at room temperature for up to a week. Keeping them in a cool, dry place will help preserve their texture. However, avoid refrigeration, as it can cause the candy coating to lose its crispness. If you want to make these treats even more festive, feel free to add colored sprinkles or drizzle melted chocolate over the hardened candy for variety!
Ingredients
Ingredients
For the Green Apple Candy Treats
- 4 medium green apples
- 1 cup green candy melts
- 1 tablespoon coconut oil
- Sea salt for sprinkling (optional)
Instructions
Instructions
Prepare the Apples
Start by washing the green apples thoroughly and drying them. Insert a stick or a skewer into the top of each apple for easy handling.
Melt the Candy
In a microwave-safe bowl, combine the green candy melts and coconut oil. Microwave in 30-second intervals, stirring in between, until the melts are completely smooth.
Coat the Apples
Dip each apple into the melted candy mixture, making sure to cover it completely. Allow any excess coating to drip off.
Set and Serve
Place the coated apples upright in a glass or upright container. If desired, sprinkle with a pinch of sea salt before the candy sets. Let them cool and harden before serving.
Pro Tips
- For a little extra fun, consider adding sprinkles or crushed nuts to the candy coating before it sets. Experiment with flavors by using flavored candy melts, too!
Storing Leftovers
Once you've indulged in your Green Apple Candy Treats, it's important to store any leftovers properly to maintain their delightful texture. Place them in an airtight container and ensure they are spaced apart to avoid sticking. This method keeps the candy coating crisp while preserving the fresh crunch of the apple. They can last at room temperature for about a week, but avoid refrigeration as the cold can cause the coating to become tacky and lose its appealing finish.
If you've made a larger batch than you can consume, consider wrapping them in colorful cellophane for gift-giving. Not only does this make the treats more presentable, but adding a festive ribbon to each wrapped apple also creates a charming party favor that guests will appreciate. Just make sure that the candies have cooled completely and hardened before wrapping to avoid any mess.
Variations to Try
While the classic Green Apple Candy Treats are absolutely delicious, experimenting with different flavors can open up a whole new world of options! Consider using other types of candy melts to change the flavor profile—try tart cherry for a fun twist or vanilla for a classic approach. You can also roll the coated apples in crushed nuts or candy for added texture. A sprinkle of crushed pretzels adds a delightful salty contrast if you're feeling adventurous.
For those looking to create a more gourmet version, drizzle melted dark or white chocolate over the coated candies once they are set. Adding other toppings such as shredded coconut or even edible glitter can elevate your treats for special occasions. My favorite twist is to incorporate a hint of cinnamon to the candy melts for a warm, spicy note during fall celebrations. The possibilities are endless, so let your creativity guide your next batch!
Questions About Recipes
→ Can I use other fruits instead of apples?
Yes! This recipe works well with strawberries or bananas as well.
→ How long can these treats be stored?
They can be stored in an airtight container for about 3 days.
→ What if I don't have candy melts?
You can use chocolate chips instead; just temper them in a similar fashion.
→ Is this recipe suitable for parties?
Definitely! These treats are visually appealing and a hit at gatherings.
Green Apple Candy Treats
Created by: Lauren Mitchell
Recipe Type: Sweet Baking Favorites
Skill Level: Easy
Final Quantity: 12 treats
What You'll Need
For the Green Apple Candy Treats
- 4 medium green apples
- 1 cup green candy melts
- 1 tablespoon coconut oil
- Sea salt for sprinkling (optional)
How-To Steps
Start by washing the green apples thoroughly and drying them. Insert a stick or a skewer into the top of each apple for easy handling.
In a microwave-safe bowl, combine the green candy melts and coconut oil. Microwave in 30-second intervals, stirring in between, until the melts are completely smooth.
Dip each apple into the melted candy mixture, making sure to cover it completely. Allow any excess coating to drip off.
Place the coated apples upright in a glass or upright container. If desired, sprinkle with a pinch of sea salt before the candy sets. Let them cool and harden before serving.
Extra Tips
- For a little extra fun, consider adding sprinkles or crushed nuts to the candy coating before it sets. Experiment with flavors by using flavored candy melts, too!
Nutritional Breakdown (Per Serving)
- Calories: 150 kcal
- Total Fat: 7g
- Saturated Fat: 5g
- Cholesterol: 0mg
- Sodium: 20mg
- Total Carbohydrates: 23g
- Dietary Fiber: 2g
- Sugars: 20g
- Protein: 1g