Strawberry Banana Yogurt Pots
Highlighted under: Sweet Baking Favorites
I absolutely love making Strawberry Banana Yogurt Pots, especially when I'm in the mood for a refreshing and nutritious treat. The combination of creamy yogurt, fresh strawberries, and ripe bananas creates a delightful balance of flavors and textures. I usually whip these up for a quick breakfast or as a light dessert. It only takes a few ingredients, and the taste is so satisfying that I can't help but indulge. Plus, you can customize them with your favorite toppings, making them a versatile option for any occasion.
When I first tried making these Strawberry Banana Yogurt Pots, I couldn't believe how simple and delicious they were. I experimented with various fruits and toppings, but the classic combination of strawberries and bananas always made my heart sing. The key is to use ripe fruits for their natural sweetness, which complements the tanginess of the yogurt.
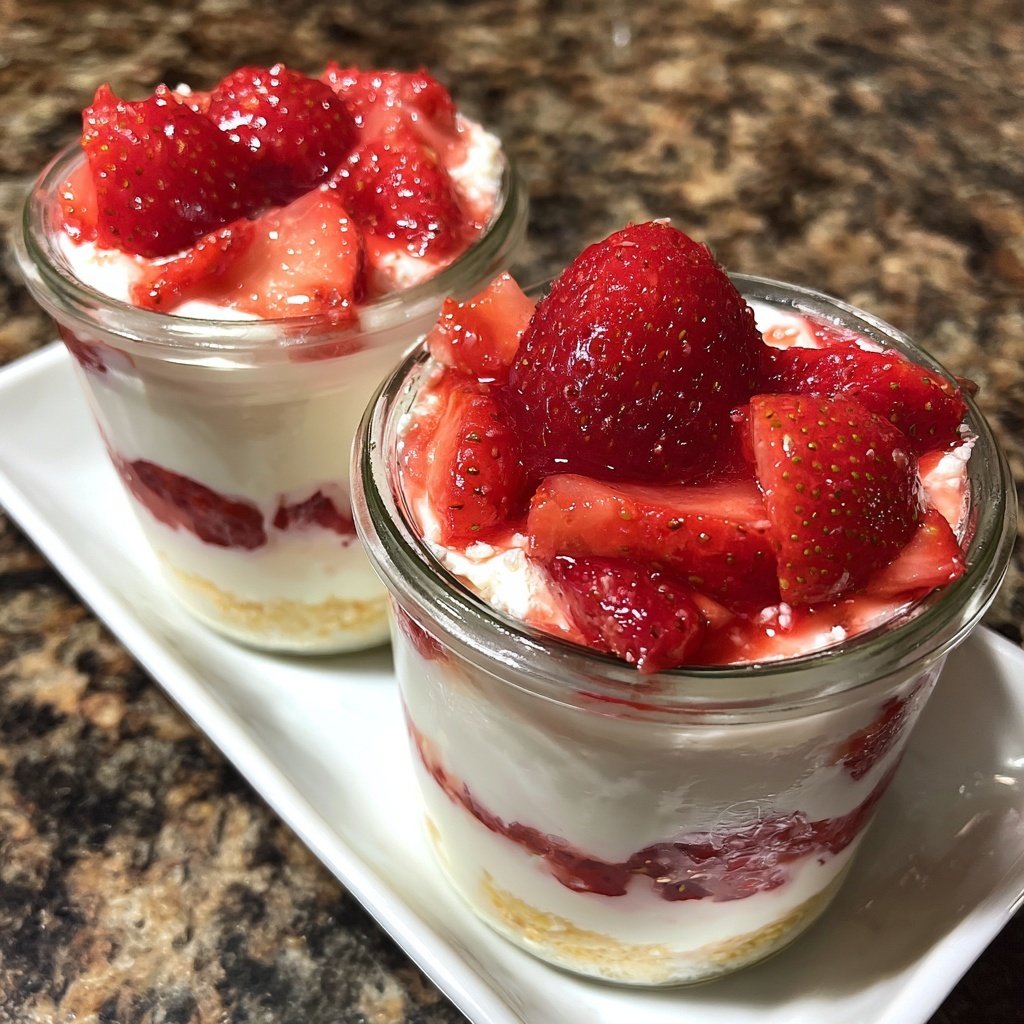
One tip I've found to elevate the dish is to layer the ingredients in a glass jar. Not only does it look beautiful, but it also allows the flavors to meld together perfectly. Each spoonful reveals a delightful mix of creamy yogurt and luscious fruit that never fails to put a smile on my face.
Why You'll Love This Recipe
- Refreshing and fruity flavor that brightens your day
- Creamy texture from the yogurt that enhances every bite
- Quick and easy to make, perfect for busy mornings or dessert
Choosing the Right Yogurt
Using plain Greek yogurt not only provides a creamy base but also adds a hefty dose of protein to your Strawberry Banana Yogurt Pots. The thickness of Greek yogurt allows it to hold the layers beautifully, giving your pots a nice structure. If you prefer a lighter option, you can substitute with regular yogurt or even a dairy-free alternative like coconut or almond yogurt. Just make sure to choose an unsweetened variety to control the sweetness with honey or maple syrup later.
Adjusting the sweetness is key to catering this recipe to your taste. I recommend starting with a smaller amount of honey or syrup and tasting as you mix. If you're looking for a lower-calorie option, consider using a sugar substitute like stevia or monk fruit. Keep in mind that each sweetener varies in sweetness, so adjust the quantity accordingly and blend until your yogurt reaches a delightful balance.
Layering for Maximum Flavor
For optimal texture and flavor, pay attention to how you layer the ingredients. Begin with a generous spoonful of the sweetened yogurt; this forms the foundation. Then, make sure to distribute the strawberries and bananas evenly—this way, each bite is bursting with fruitiness. I like to alternate layers with thickness; for instance, you might use thicker layers of yogurt and thin fruit layers for contrast, creating a more varied palate experience.
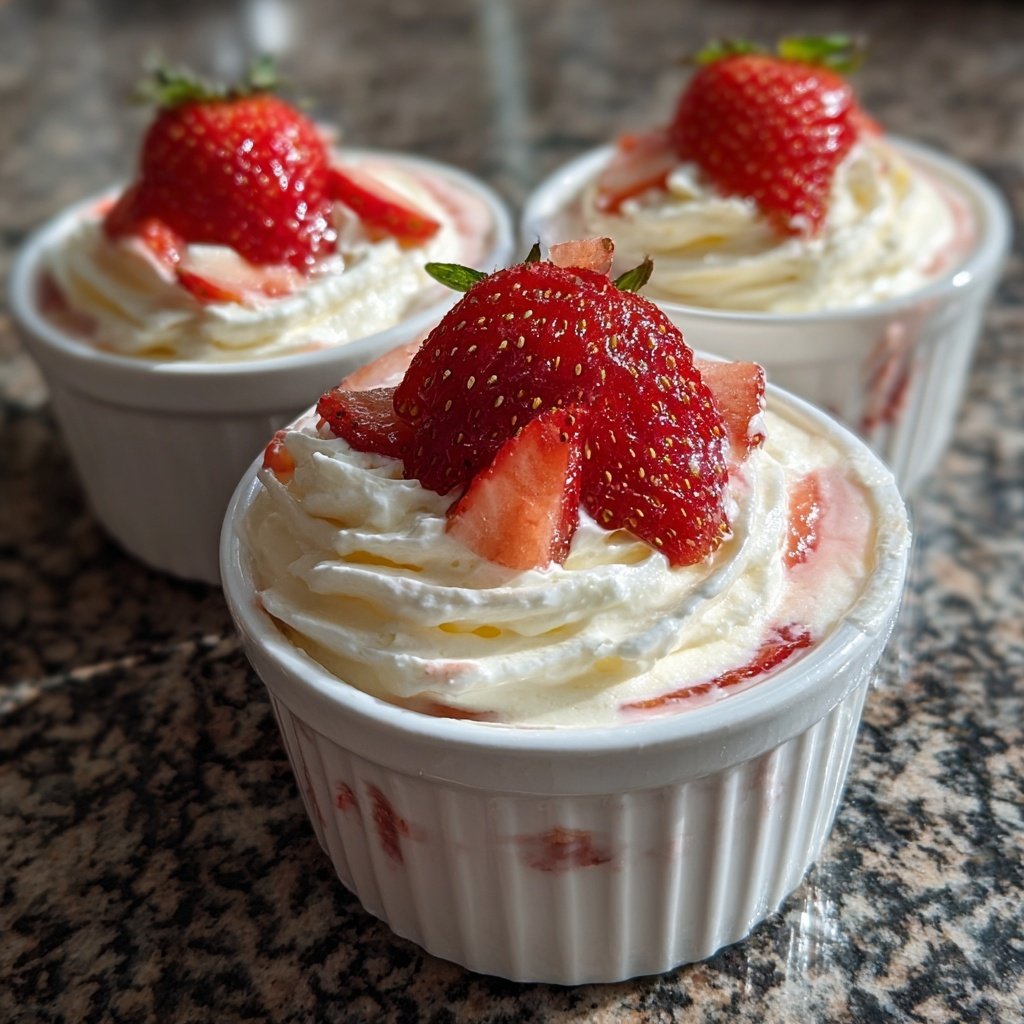
When assembling your pots, consider using clear glass jars or cups. This not only allows you to showcase the beautiful colors of the strawberries and bananas but also helps with portion control. An ideal serving glass holds about 12 ounces, which is perfect for a satisfying single serving; it gives enough room for 2-3 layers without overflowing. Watch for visual cues—keeping the layers neat and not overflowing will enhance the presentation.
Customization and Serving Suggestions
Feel free to customize your yogurt pots with additional toppings and flavors. Try incorporating a layer of almond butter or peanut butter for extra richness or a sprinkle of shredded coconut for a tropical twist. You can also introduce other fruits, such as blueberries or kiwi, for added color and nutrition. If you're feeling adventurous, a hint of vanilla or cinnamon blended into the yogurt can elevate the flavor profile for a delightful surprise.
These yogurt pots are versatile enough to enjoy at any time of the day. For breakfast, pair them with a cup of coffee or tea, or as a refreshing snack in the afternoon. They also serve well as a light dessert post-dinner. If making ahead, prepare the pots without the granola and store them in an airtight container in the fridge for up to 2 days. Add granola just before serving to maintain its crunch.
Ingredients
Gather these ingredients to make your delightful Strawberry Banana Yogurt Pots.
Ingredients
- 2 cups plain Greek yogurt
- 1 cup fresh strawberries, sliced
- 2 ripe bananas, sliced
- 2 tablespoons honey or maple syrup
- 1/4 cup granola (optional for topping)
Once you have everything ready, you can start assembling your yogurt pots!
Instructions
Follow these simple steps to create your Strawberry Banana Yogurt Pots.
Prepare the Yogurt Base
In a mixing bowl, combine the plain Greek yogurt and honey (or maple syrup) and stir until well blended. This sweetened yogurt will be the creamy layer of your pots.
Layer the Ingredients
In a serving glass or jar, start by adding a layer of the sweetened yogurt at the bottom. Follow with a layer of sliced strawberries, then a layer of banana slices. Repeat these layers until you fill the glass, finishing with a layer of strawberries on top.
Add Granola and Serve
If desired, sprinkle granola on top of your yogurt pots for added crunch. Serve immediately or refrigerate for up to an hour before serving for a chilled treat.
Enjoy your delicious and healthy Strawberry Banana Yogurt Pots!
Pro Tips
- For an extra treat, consider adding a sprinkle of chia seeds or nuts for added texture and nutrition.
Storage and Make-Ahead Tips
To maximize freshness, make your yogurt pots the day before serving and store them in the refrigerator. This allows the flavors to meld and the yogurt to chill perfectly. They stay fresh for up to 48 hours, but I recommend consuming them within 24 hours for the best taste and texture. Ensure you seal them tightly to prevent them from absorbing other fridge odors.
If you plan to meal prep, consider portioning your ingredients separately and assembling them when ready to eat. This works particularly well if you like crunchy toppings like granola—keeping it separate maintains its texture. Assemble your yogurt and fruit layers in the morning before heading out, or enjoy as a quick snack post-workout.
Troubleshooting Common Issues
If your yogurt appears too runny after mixing, it may be due to using a yogurt that's too soft or has excess liquid. You can solve this by straining the yogurt using a cheesecloth for 30 minutes to achieve a thicker consistency. This method removes additional moisture without losing the yogurt's health benefits and can give your pots a creamier texture.
When layering, you might find that your ingredients mix instead of staying distinct. If that happens, make sure to let each layer set slightly before adding the next one. This short wait allows the ingredients to stabilize and prevents the colors from bleeding together. It also helps maintain that visually appealing separation of layers in your pots.
Questions About Recipes
→ Can I use different fruits?
Absolutely! You can substitute with your favorite fruits like blueberries, peaches, or mangoes.
→ How long do these yogurt pots last?
They are best enjoyed fresh, but you can store them in the refrigerator for up to 24 hours.
→ Can I make this ahead of time?
Yes, you can prep the layers ahead, but it's best to add the granola just before serving to keep it crunchy.
→ Is this recipe suitable for meal prep?
Definitely! These yogurt pots are perfect for meal prep, as you can easily make multiple servings at once.
Strawberry Banana Yogurt Pots
Created by: Lauren Mitchell
Recipe Type: Sweet Baking Favorites
Skill Level: Easy
Final Quantity: 4 servings
What You'll Need
Ingredients
- 2 cups plain Greek yogurt
- 1 cup fresh strawberries, sliced
- 2 ripe bananas, sliced
- 2 tablespoons honey or maple syrup
- 1/4 cup granola (optional for topping)
How-To Steps
In a mixing bowl, combine the plain Greek yogurt and honey (or maple syrup) and stir until well blended. This sweetened yogurt will be the creamy layer of your pots.
In a serving glass or jar, start by adding a layer of the sweetened yogurt at the bottom. Follow with a layer of sliced strawberries, then a layer of banana slices. Repeat these layers until you fill the glass, finishing with a layer of strawberries on top.
If desired, sprinkle granola on top of your yogurt pots for added crunch. Serve immediately or refrigerate for up to an hour before serving for a chilled treat.
Extra Tips
- For an extra treat, consider adding a sprinkle of chia seeds or nuts for added texture and nutrition.
Nutritional Breakdown (Per Serving)
- Calories: 150 kcal
- Total Fat: 4g
- Saturated Fat: 1g
- Cholesterol: 10mg
- Sodium: 75mg
- Total Carbohydrates: 25g
- Dietary Fiber: 2g
- Sugars: 14g
- Protein: 9g